
Key takeaways
- Get some hands-on training before you buy bees. A few days with an experienced beekeeper saves colonies.
- Choose a site with flowers within 2–3 km, clean water nearby, shelter from wind and flooding, and away from paths.
- Buy healthy colonies from a trusted local beekeeper, ideally in spring or autumn when flowers are available.
- Start with two or three hives, inspect every 7–10 days in the active season, and keep simple records.
Beekeeping is one of the most rewarding things you can do on a small farm, or even on a rooftop. But bees are livestock, not ornaments: they need the right place, the right equipment and regular care. Use this checklist to get ready before your first colony arrives.
1. Before you buy anything
- Take a training course. Agriculture offices, cooperatives, beekeeping centres and experienced beekeepers run practical courses. Nothing replaces opening a hive with someone who knows what they’re looking at.
- Decide which bee to keep. The native Apis cerana or the European Apis mellifera? It depends on your altitude, forage, budget and goals. Read Apis cerana vs Apis mellifera.
- Check your forage. Walk around within 2–3 km of your planned site. What flowers there, and in which months? See Nepal’s Honey Calendar.
- Talk to your neighbours. Let them know your plans, and find out if anyone nearby sprays pesticides on flowering crops.
- Check for sting allergies. Most people only get local swelling from a sting. If you or someone in your household has ever had a severe reaction, such as difficulty breathing or swelling away from the sting, talk to a doctor before keeping bees.
2. Equipment checklist
| Item | Why you need it |
|---|---|
| Hives with frames and wax foundation | Langstroth hives for mellifera; smaller frame hives suited to cerana. Have a spare hive ready for splits or swarms. |
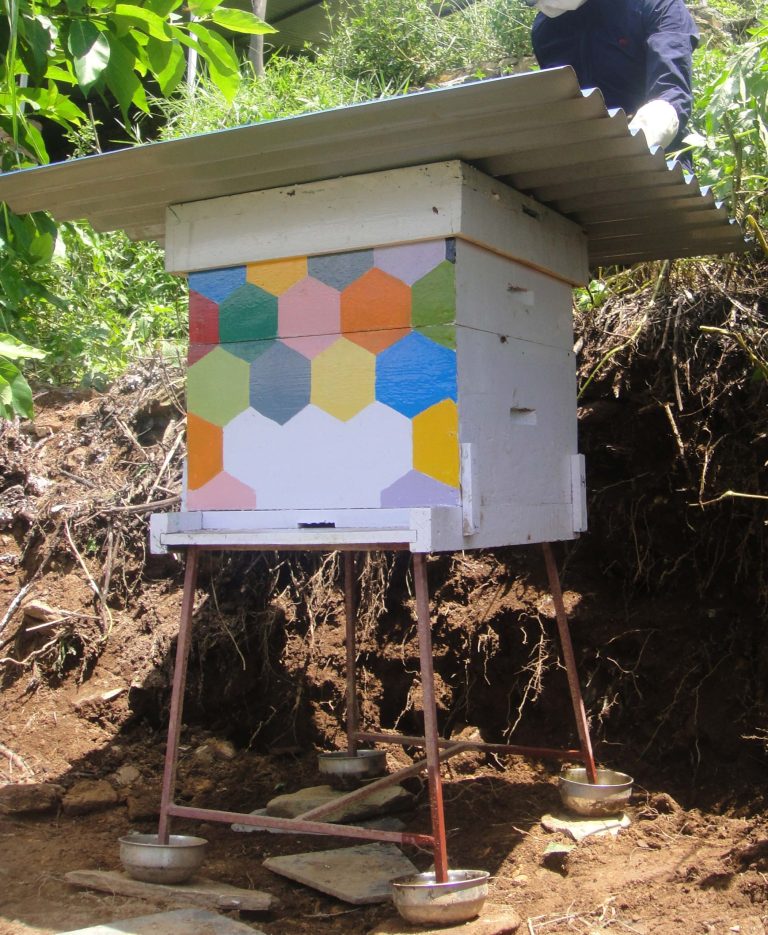
| Hive stand | Keeps hives off damp ground. Stand the legs in water or oil cups to stop ants. |
| Veil or full bee suit | Protects your face first and foremost. A full suit gives beginners confidence. |
| Gloves | Useful while you learn; many beekeepers later switch to thinner gloves for better feel. |
| Smoker and fuel | Calms bees during inspections. Use dry grass, pine needles, sacking or wood shavings. |
| Hive tool | For prising apart boxes and frames stuck together with propolis. |
| Bee brush | Gently moves bees off combs at harvest. |
| Feeder | For feeding sugar syrup during dearth periods. |
| Notebook | For recording what you see at each inspection. |
3. Choosing your apiary site
- Flowers and water: good forage within 2–3 km and a clean water source nearby. If there isn’t one, provide water with stones or floating sticks so bees don’t drown.
- Sun and shade: morning sun gets bees flying early. In the hot Terai, afternoon shade prevents overheating; in the cold hills, more sun helps.
- Shelter: protection from strong winds, and away from places that flood or stay waterlogged in the monsoon.
- Away from people and animals: set hives back from paths, roads, schools and livestock sheds, with entrances facing away from where people walk.
- Easy access: you’ll be carrying heavy honey boxes, so make sure you can get there easily.
- Level and stable: hives should be stable, slightly tilted forward so rainwater runs out of the entrance.
4. Getting your bees
- Buy from a trusted local beekeeper. Local bees are adapted to your conditions. Avoid colonies of unknown origin.
- Choose the right time. Spring and autumn, when flowers are available, give a new colony the best start. Avoid the monsoon.
- Move bees at night or early morning, with entrances closed and good ventilation. Open the entrance as soon as the hive is in its final position.
Check before you pay. A healthy colony should have:
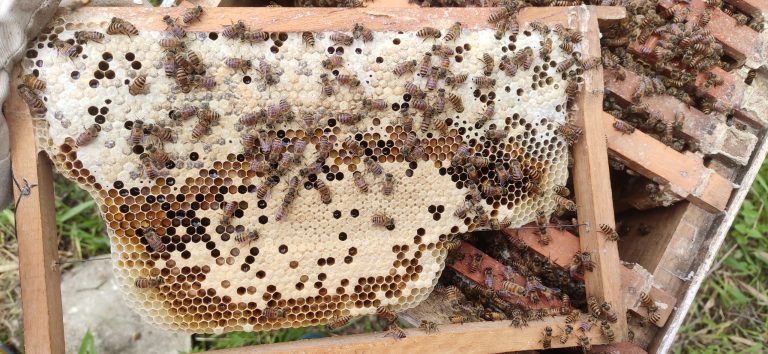
- a laying queen, with eggs and young larvae visible;
- a compact pattern of capped brood;
- enough honey and pollen stores;
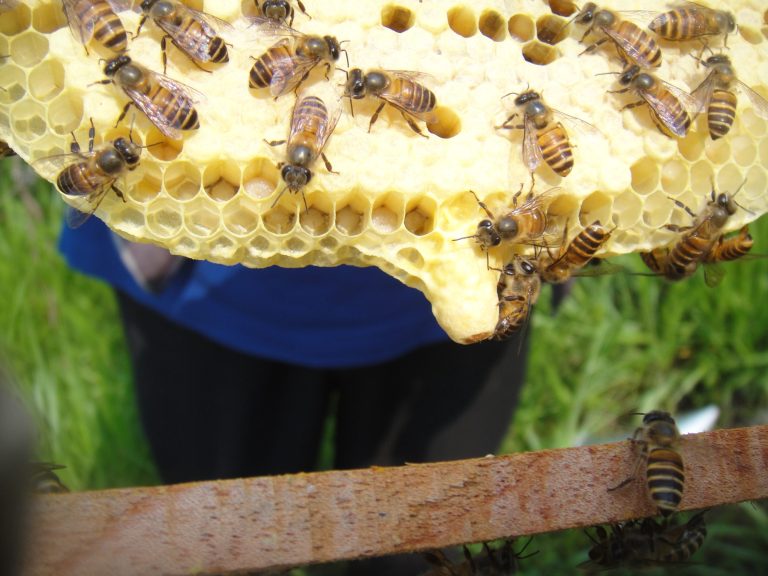
- calm bees covering most of the frames;
- no sunken, discoloured or perforated cappings, and no bad smell.
5. Your first weeks
- Let them settle. Leave a new colony alone for a few days, apart from checking there is food.
- Inspect regularly, not constantly. Every 7–10 days in the active season is plenty. Work calmly, on a warm, still day, from the side or back of the hive, never standing in front of the entrance.
- Look for the key signs: eggs, brood pattern, food stores, space, and signs of disease. Learn what each means in Inside the Hive.
- Give space before they need it. In a strong flow, add frames or a honey box before the colony fills the hive, to reduce swarming.
- Feed when there’s no forage, especially in the monsoon.
- Write it down. Date, weather, what you saw, what you did. Records turn experience into knowledge.
Never use household or crop insecticides near your hives, and only use mite or disease treatments that are approved for beehives, following the label exactly. Wrong chemicals can kill colonies and contaminate honey. See Pests and Diseases.
Learn from the official guides
The Government of Nepal’s Good Beekeeping Practice Directive and the Beekeeping Booklet (both in Nepali) cover hive management, hygiene and honey handling in more detail.